Featured Products
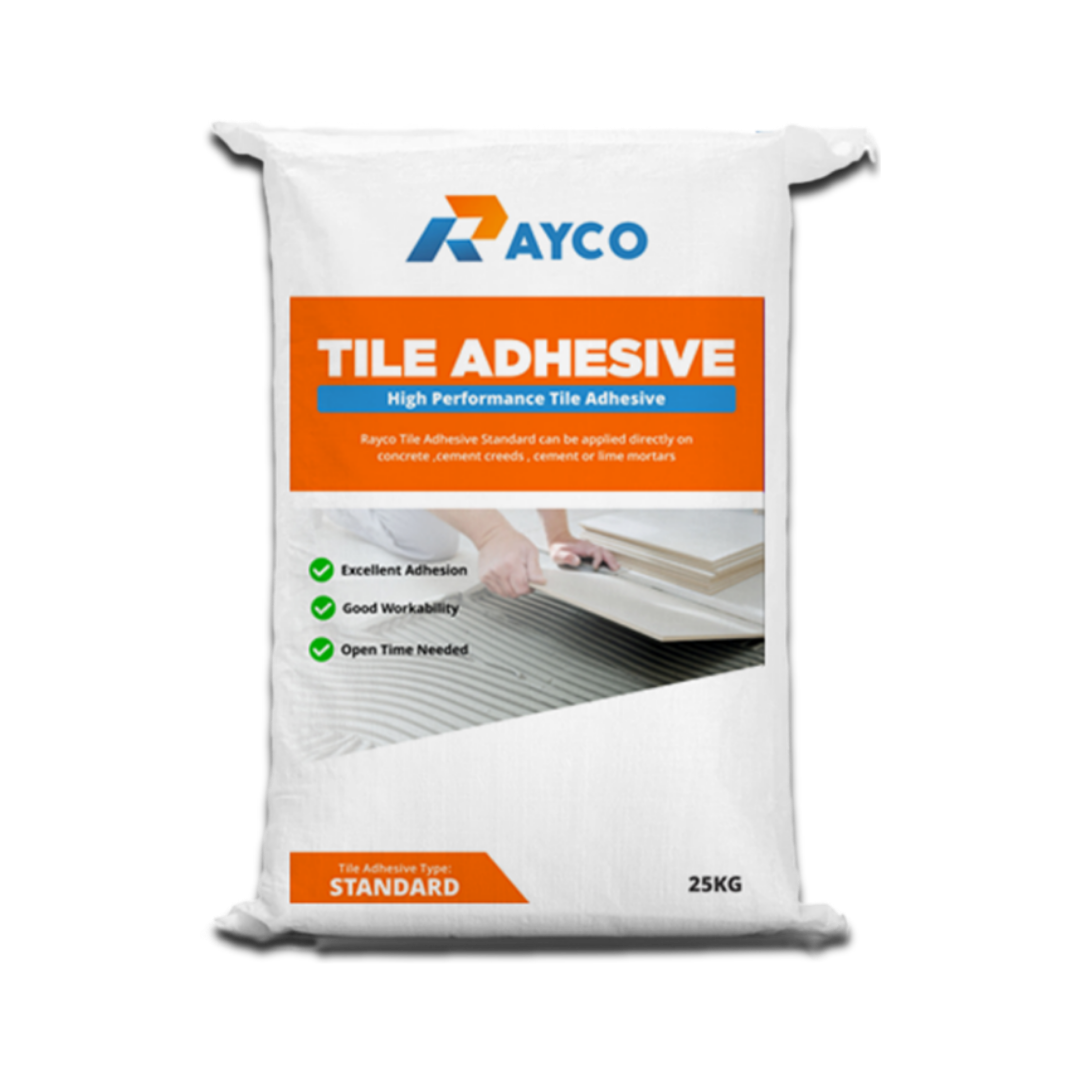
Rayco High Performance Tile Adhesive – Standard
Applications:
✓ Concrete
✓ Cement Plaster
✓ Masonry Surfaces
Coverage
5 m² / 25 kg bag at 3 mm bedding thickness
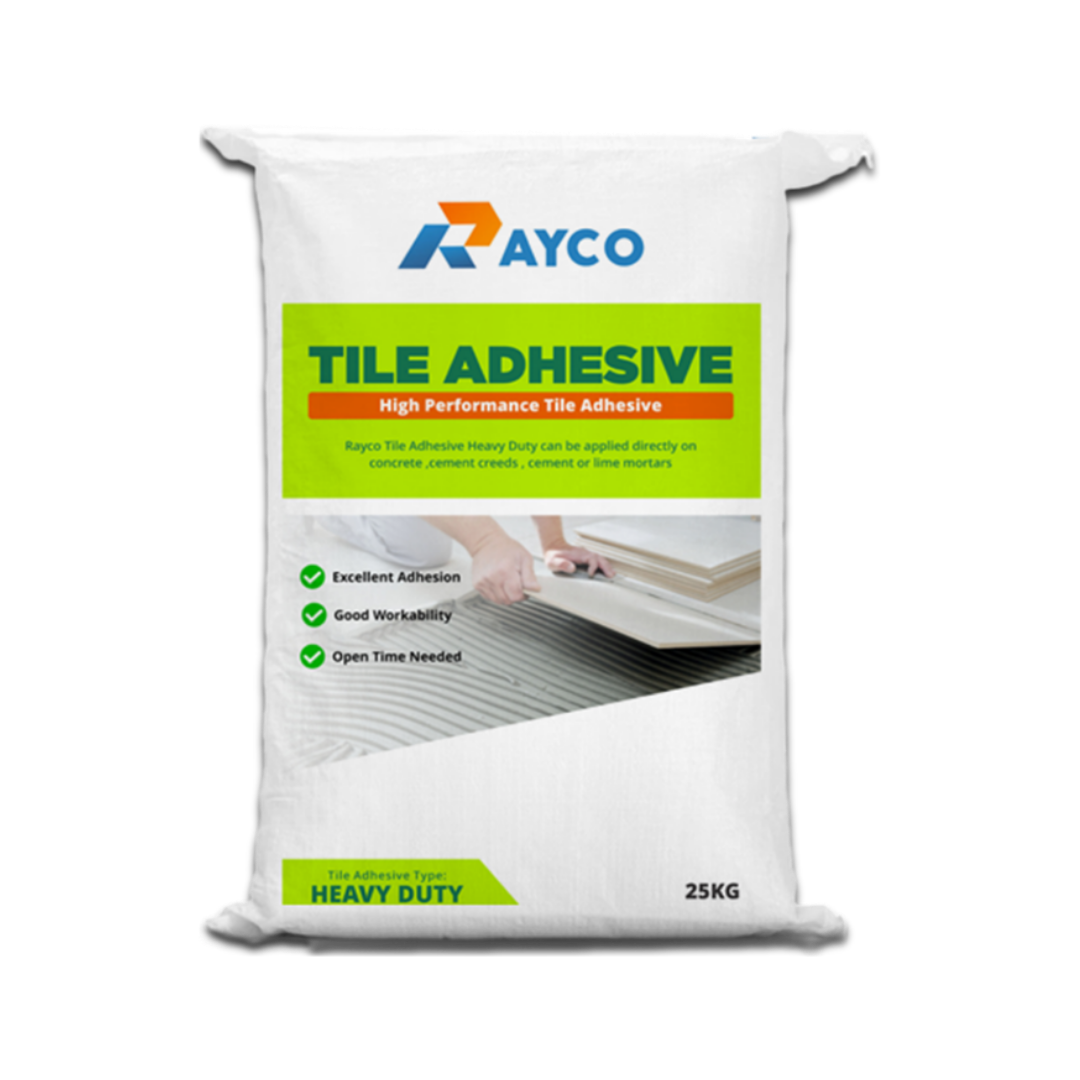
Rayco High Performance Tile Adhesive – Heavy Duty
Applications:
✓ Concrete
✓ Cement Plaster
✓ Masonry Surfaces
Coverage
5 m² / 25 kg bag at 3 mm bedding thickness
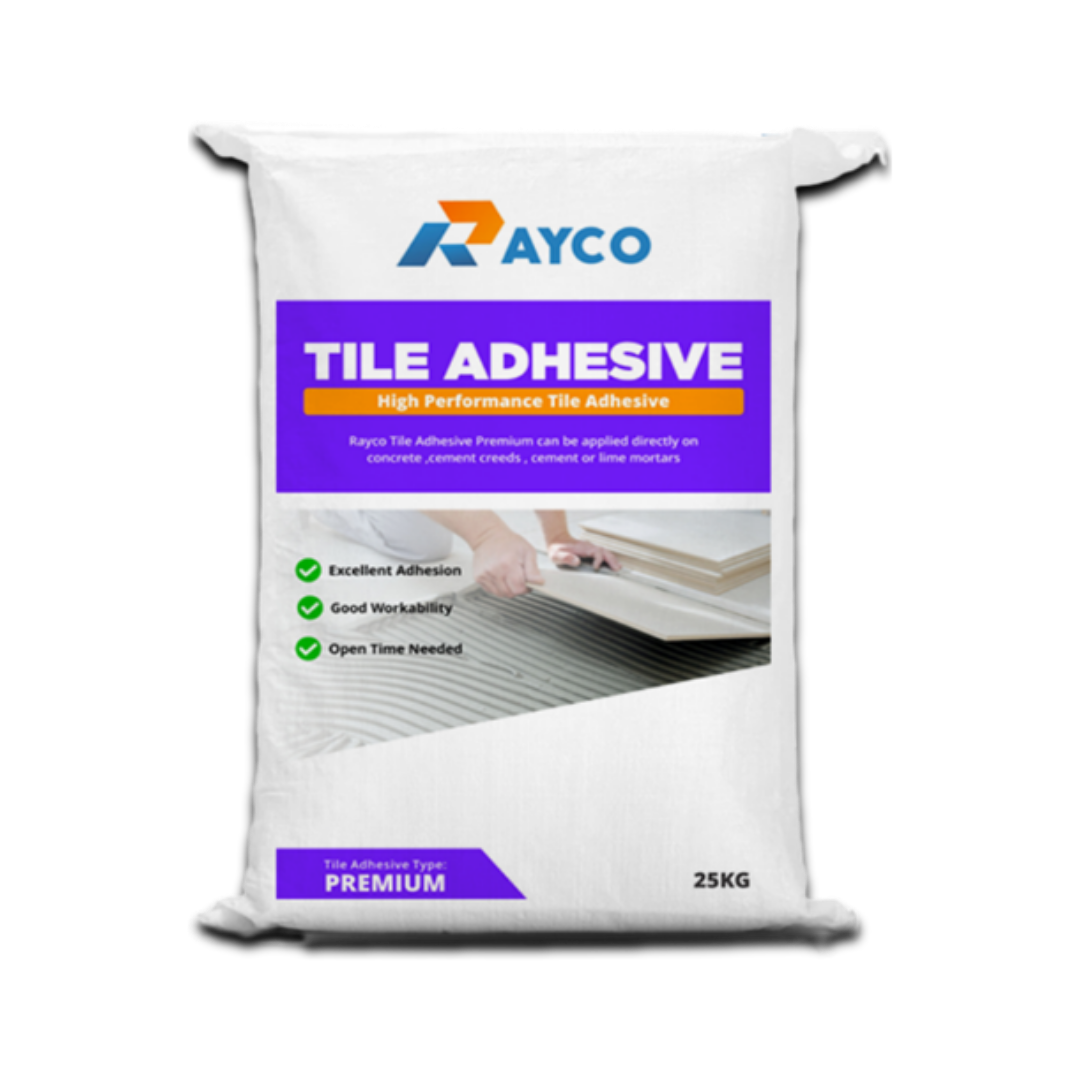
Rayco High Performance Tile Adhesive – Premium
Applications:
✓ Concrete
✓ Cement Plaster
✓ Masonry Surfaces
Coverage
5 m² / 25 kg bag at 3 mm bedding thickness
Product Comparison
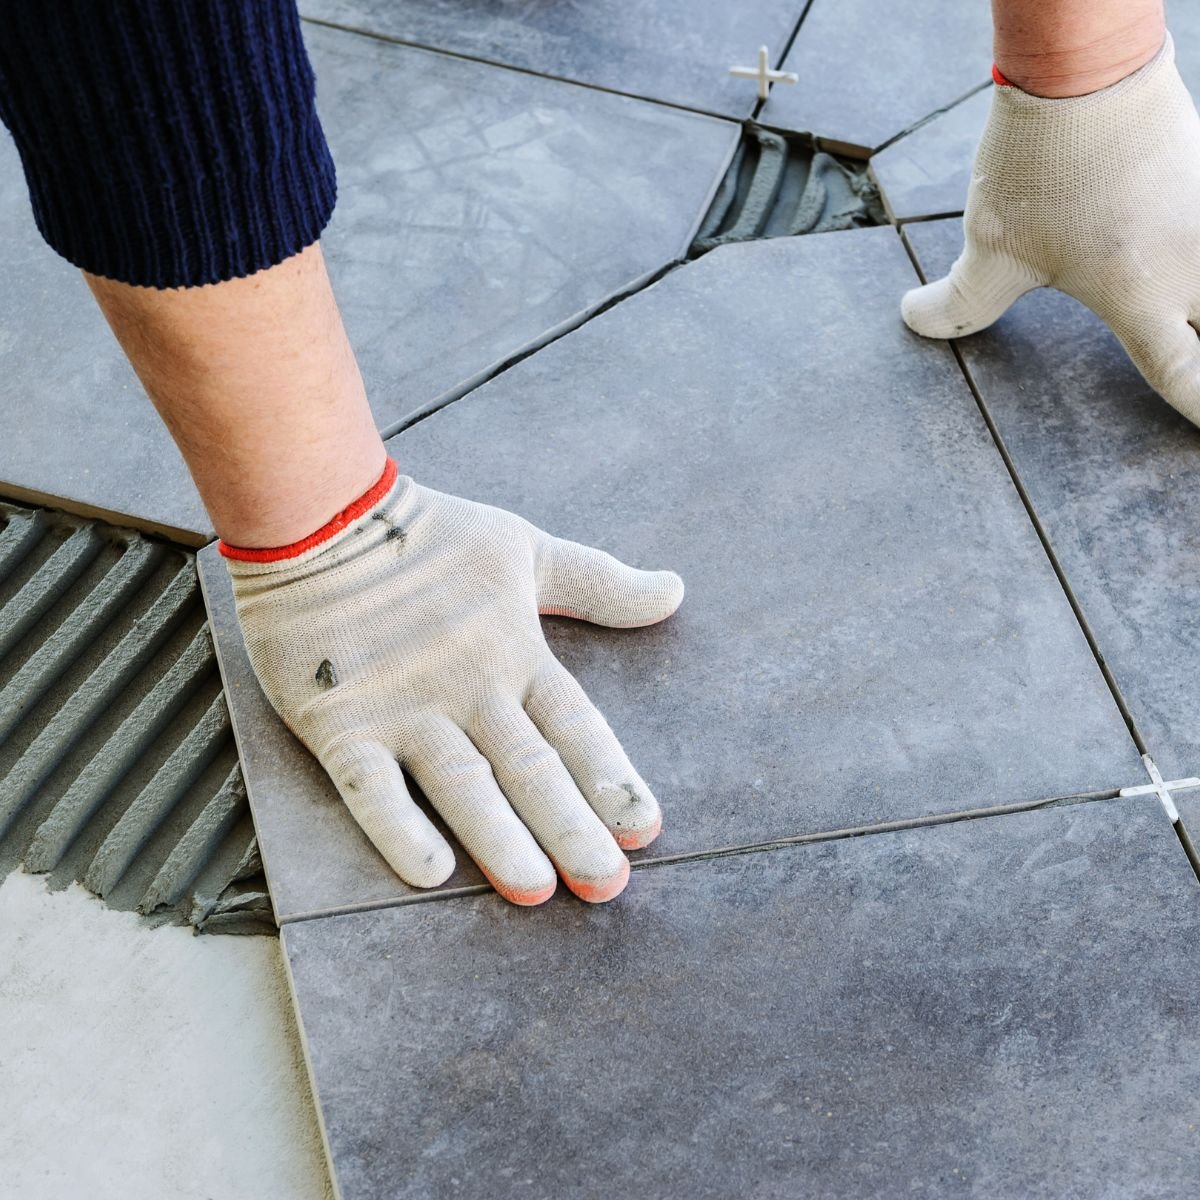
What is Tile Installation?

Strong Bond Strength

Easy Application

Crack-Resistant

Durable Finish
Common Tile Installation Problems
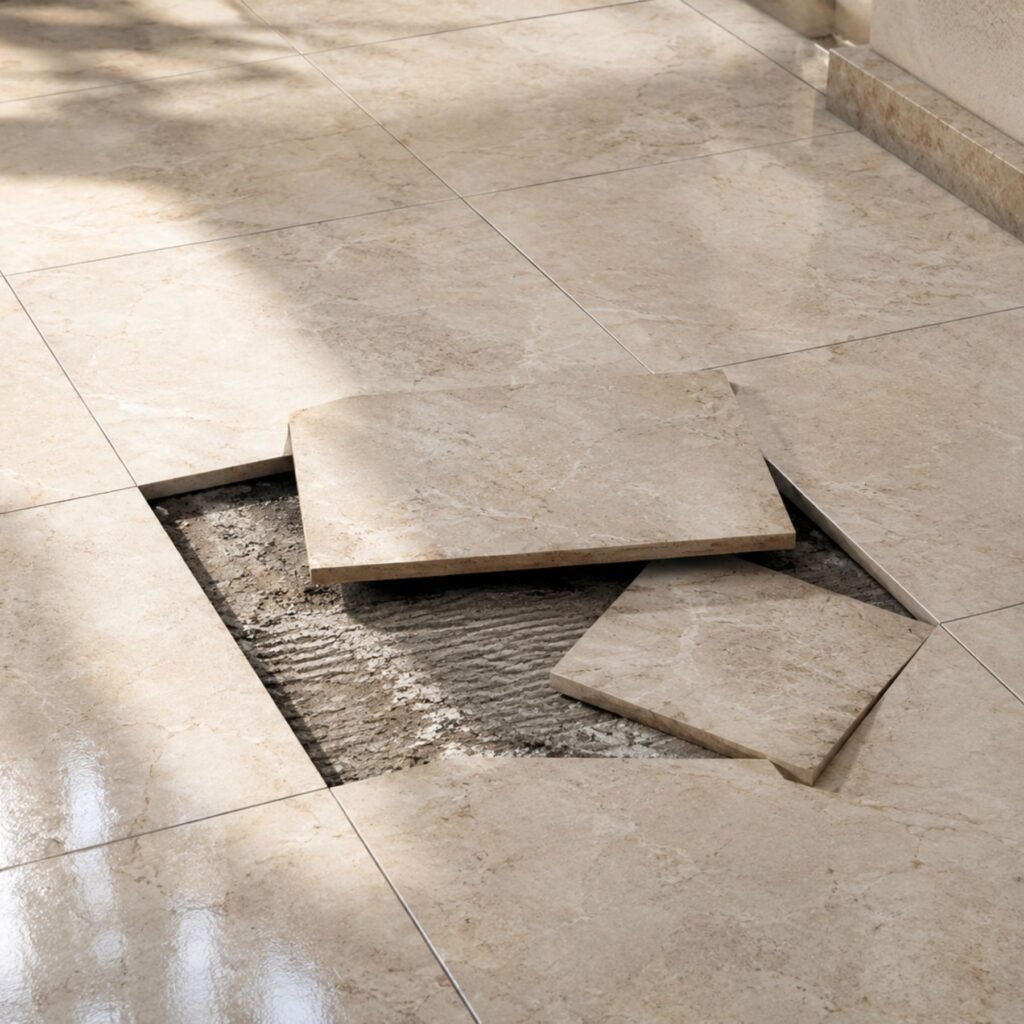
Loose Tiles
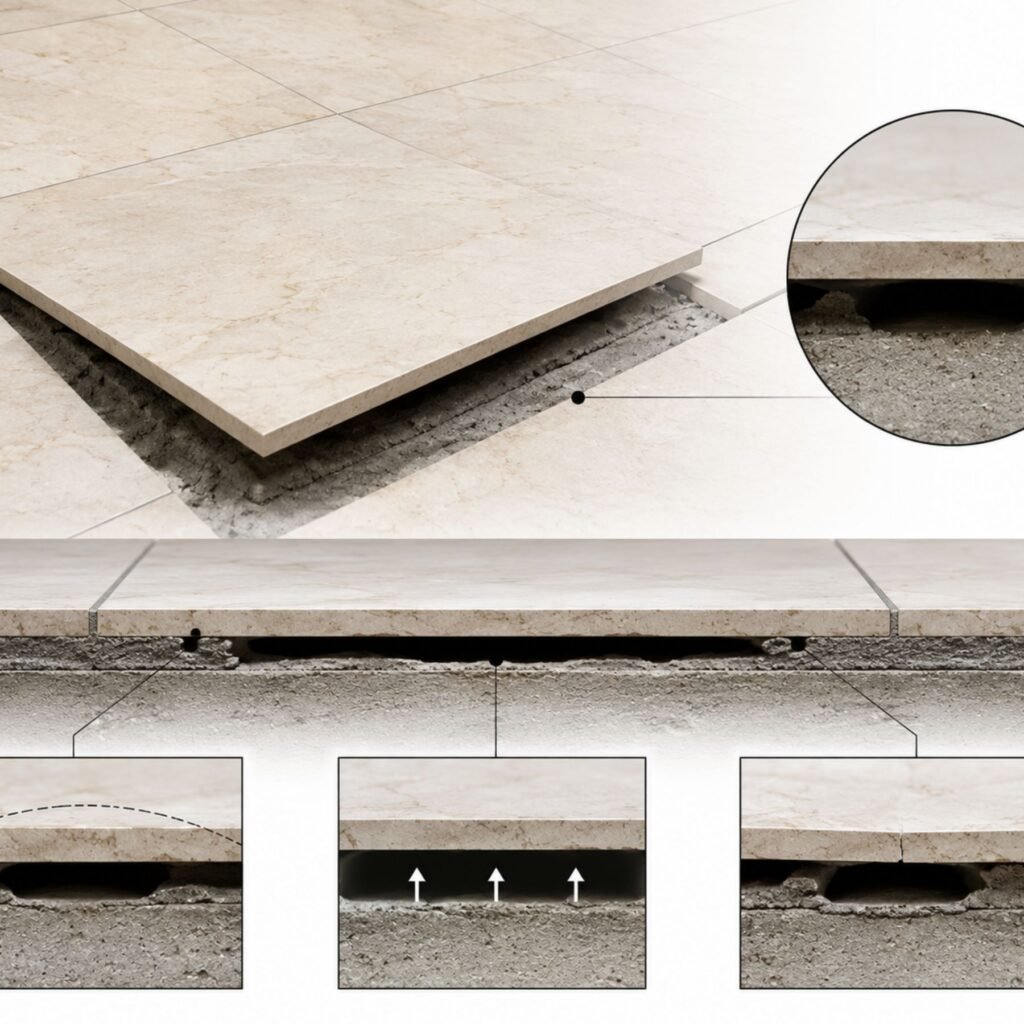
Hollow Tiles
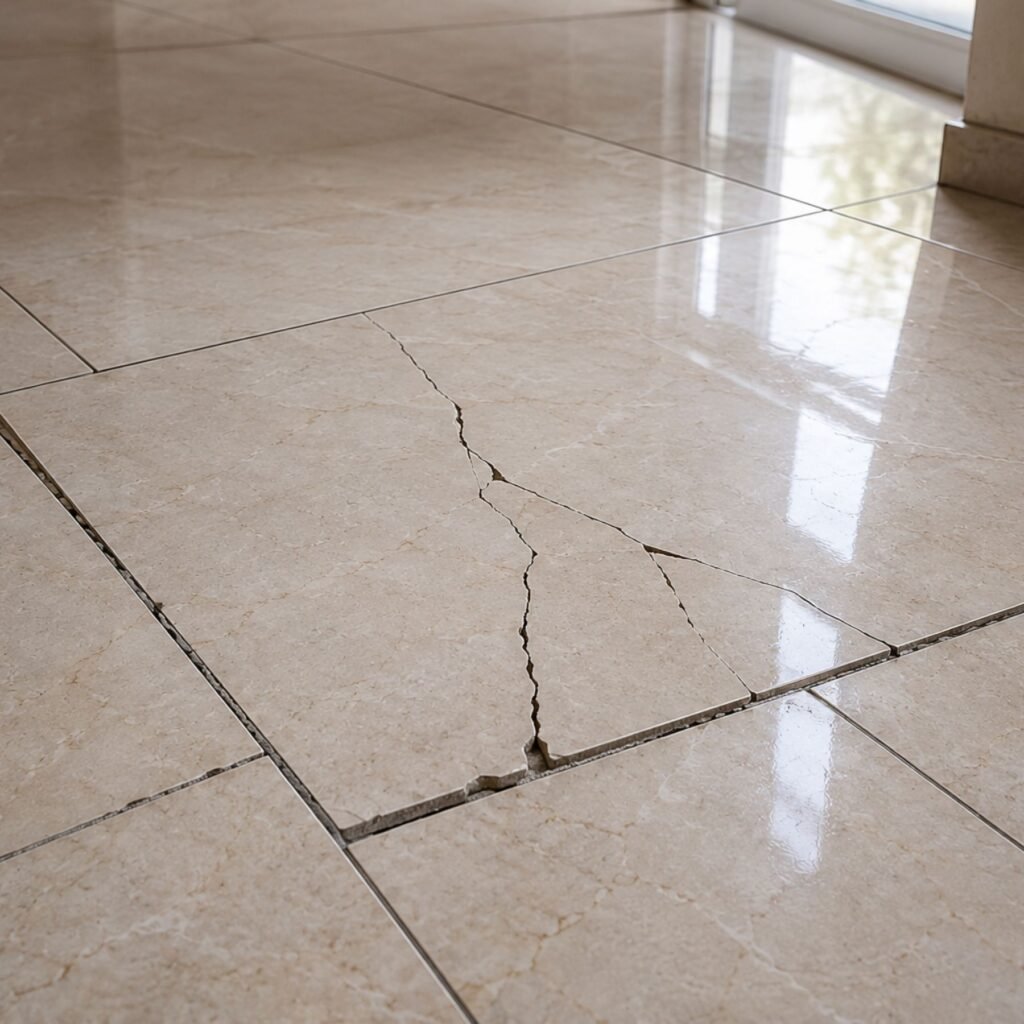
Cracked Tiles
Uneven Tiles
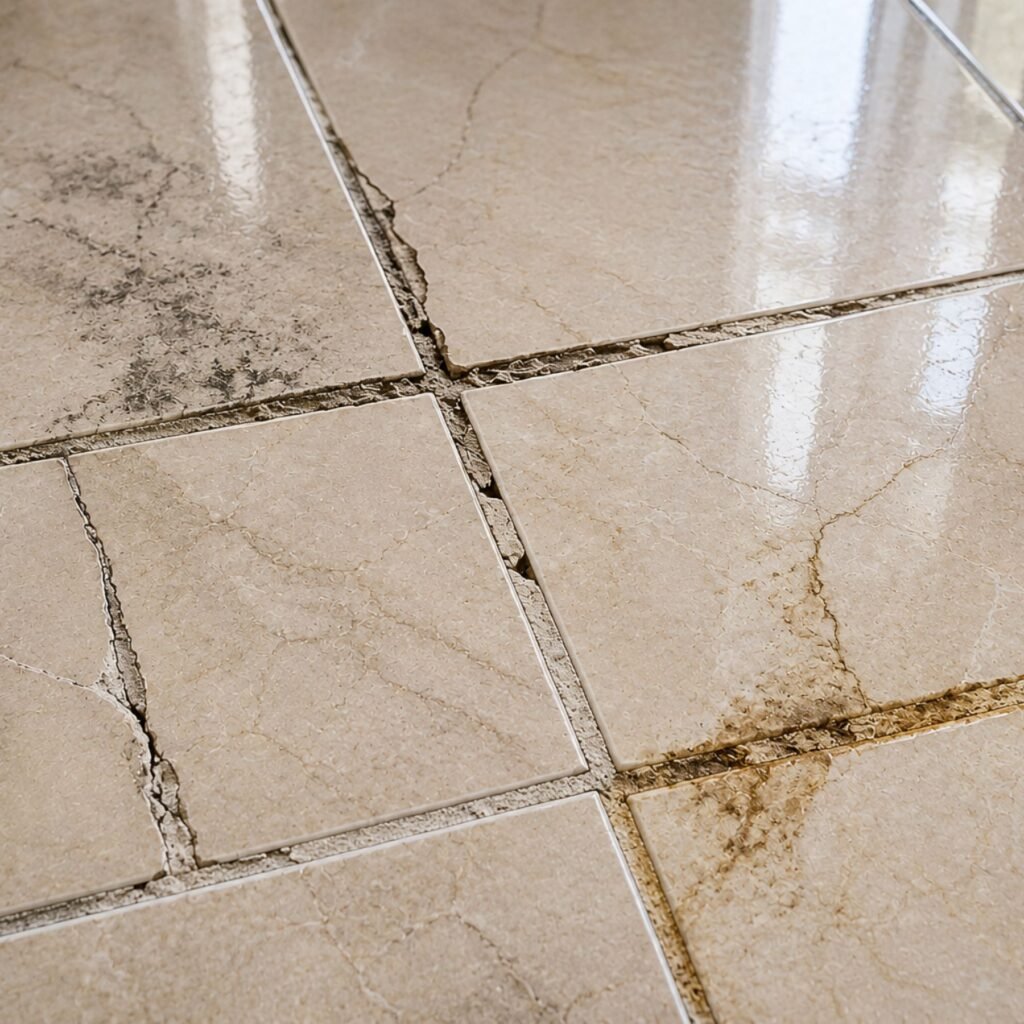
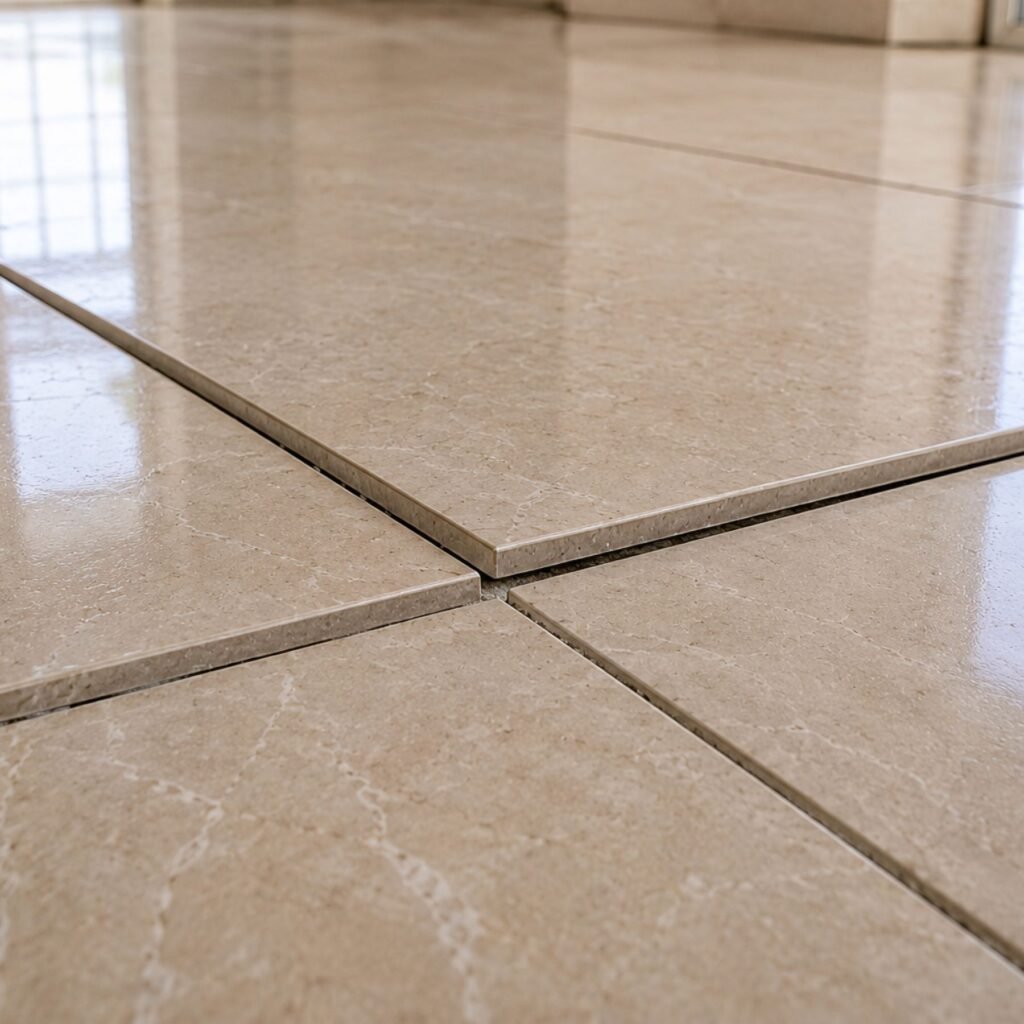
Grout Problems
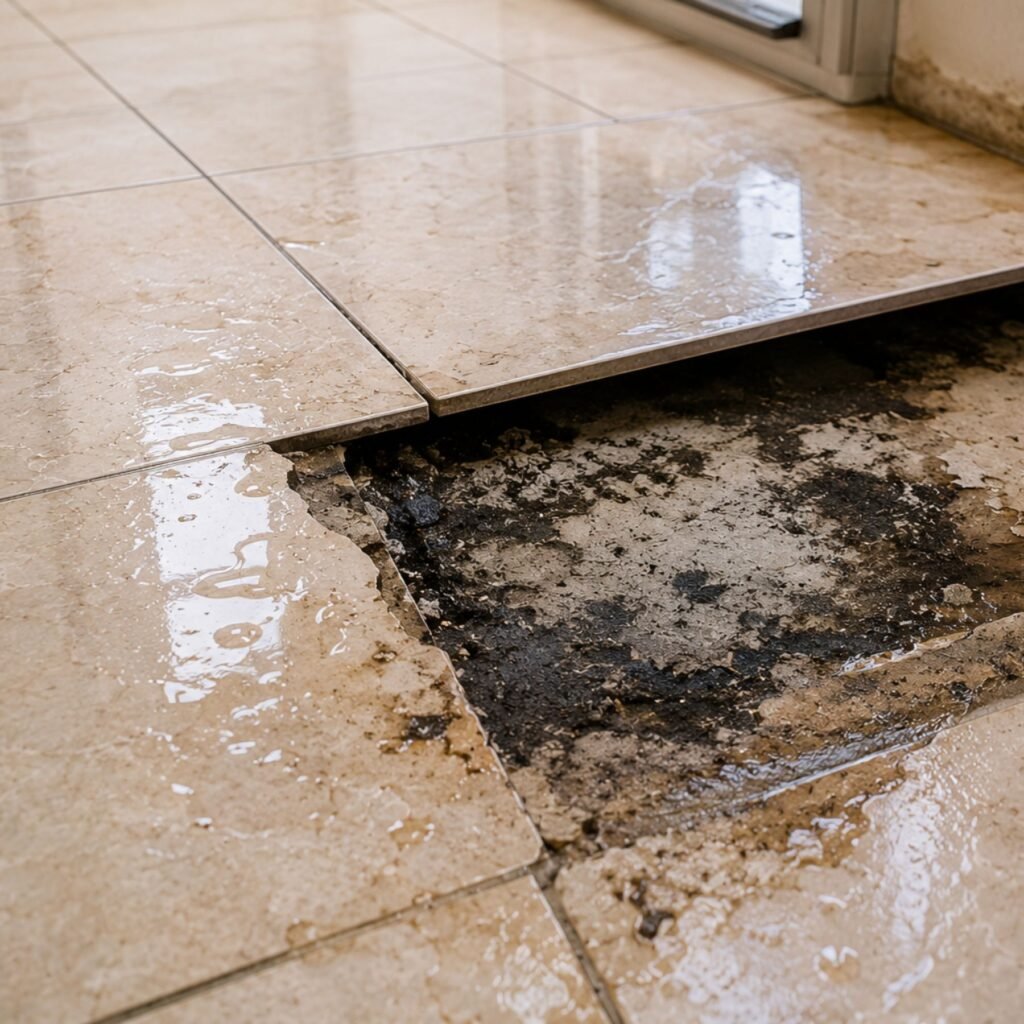
Water Damage
Tile Installation Process

Step 1
Inspect
Surface

Step 2
Repair Cracks
& Defects

Step 3
Clean & Prepare
Surface

Step 4
Apply
Tile Adhesive

Step 5
Install &
Align Tiles

Step 6
Allow
Proper Curing

Step 7
Grout & Final
Inspection
Tile Installation by Application
01
Floor Tile Installation
Create durable and attractive floors
for residential and commercial spaces.
02
Bathroom Tile Installation
Enhance wet areas with properly
installed wall and floor tiles.
03
Kitchen Tile Installation
Install durable and easy-to-clean
tiles for modern kitchen spaces.
04
Wall Tile Installation
Achieve a clean and professional
finish for interior and exterior walls.
05
Large Format Tile Installation
Ensure precise alignment and strong
adhesion for large-format tiles.
06
Balcony & Terrace Tile Installation
Install weather-resistant tiles
for outdoor living spaces.